Garage Door Opener Replacement In Chicago Illinois Home
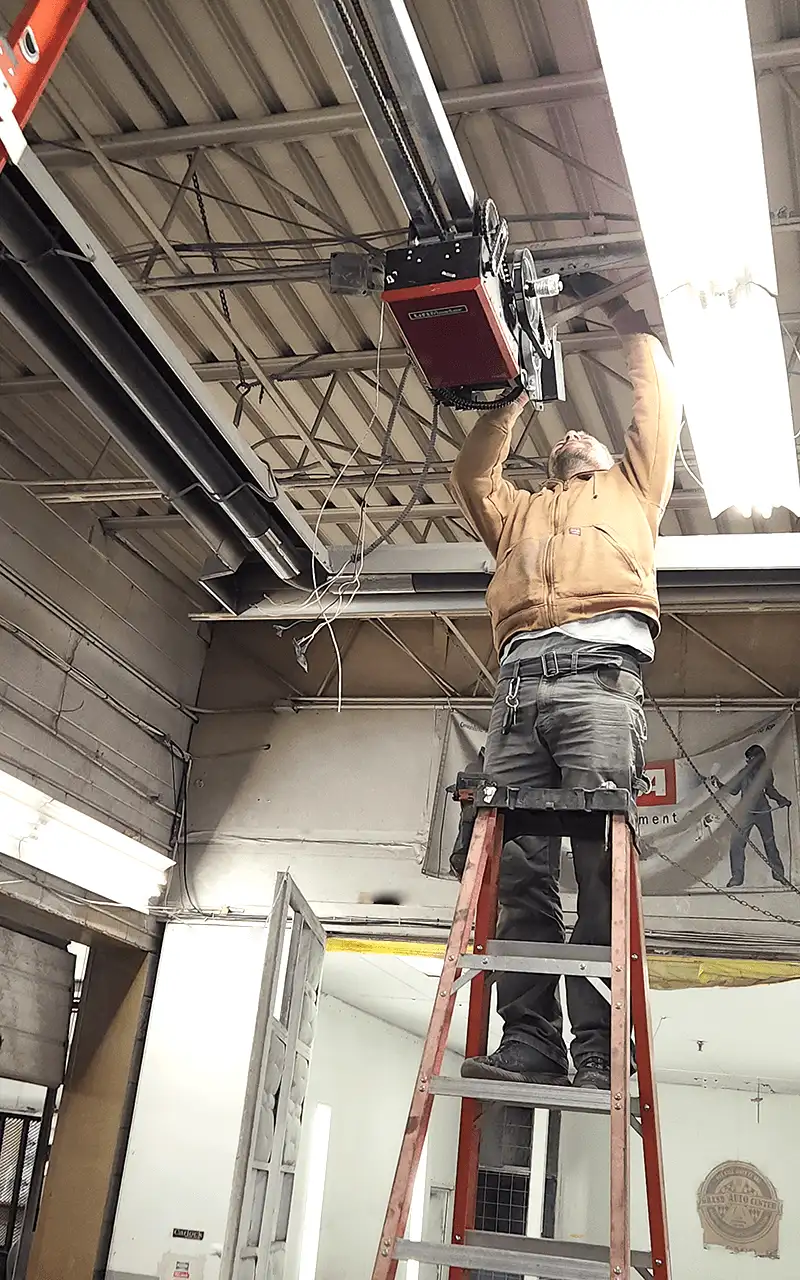
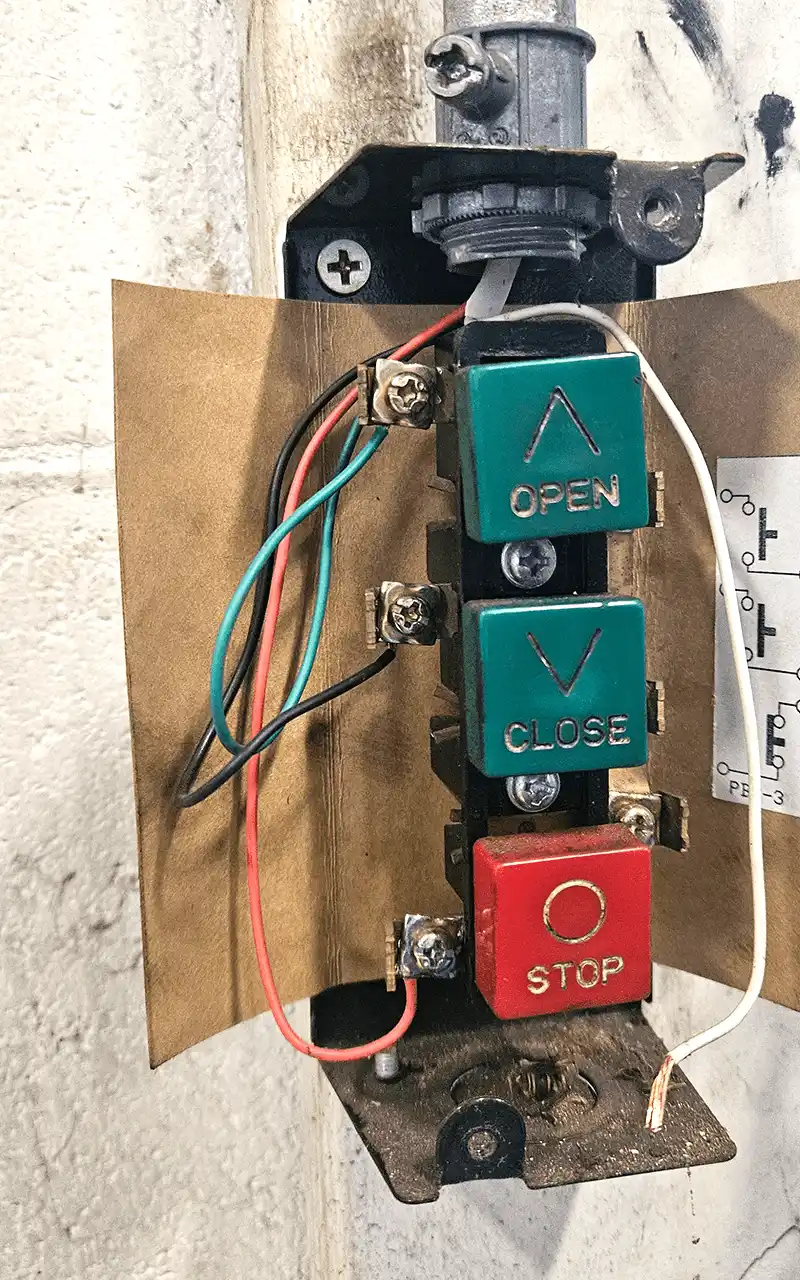
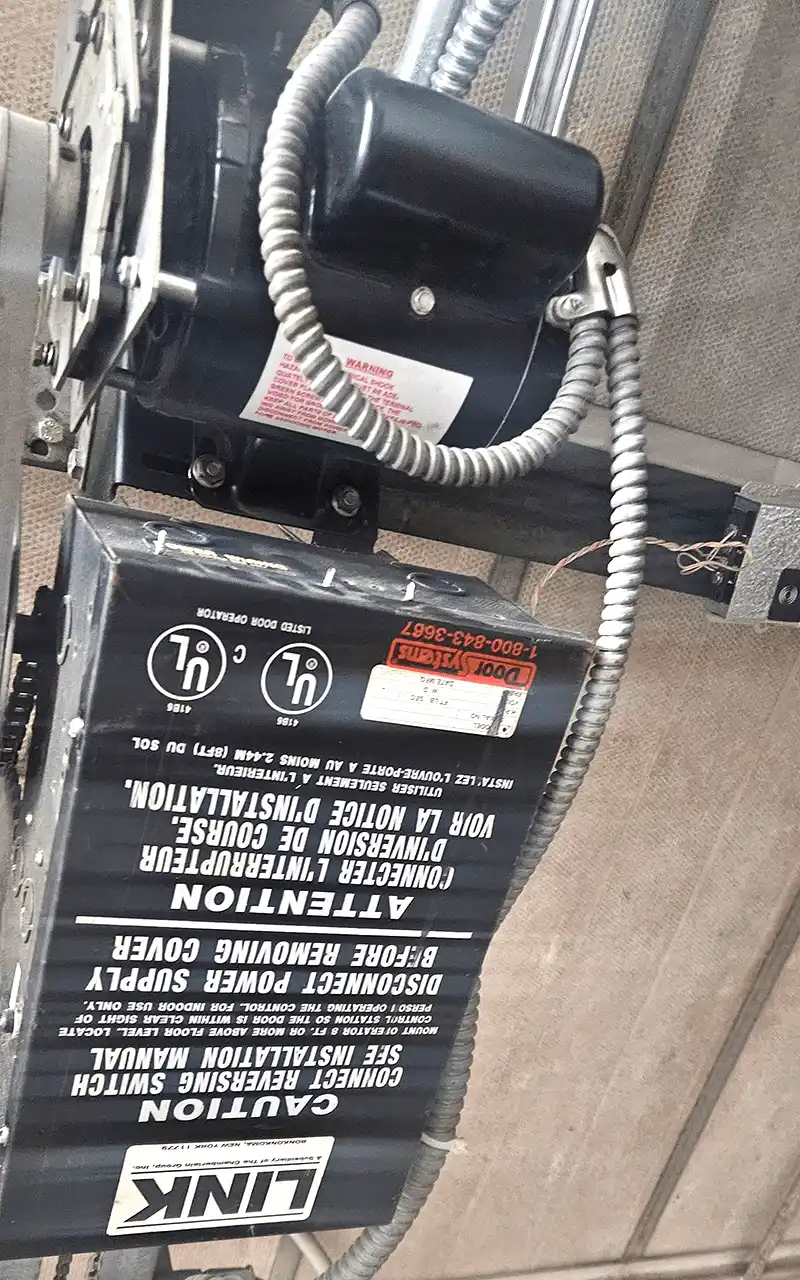
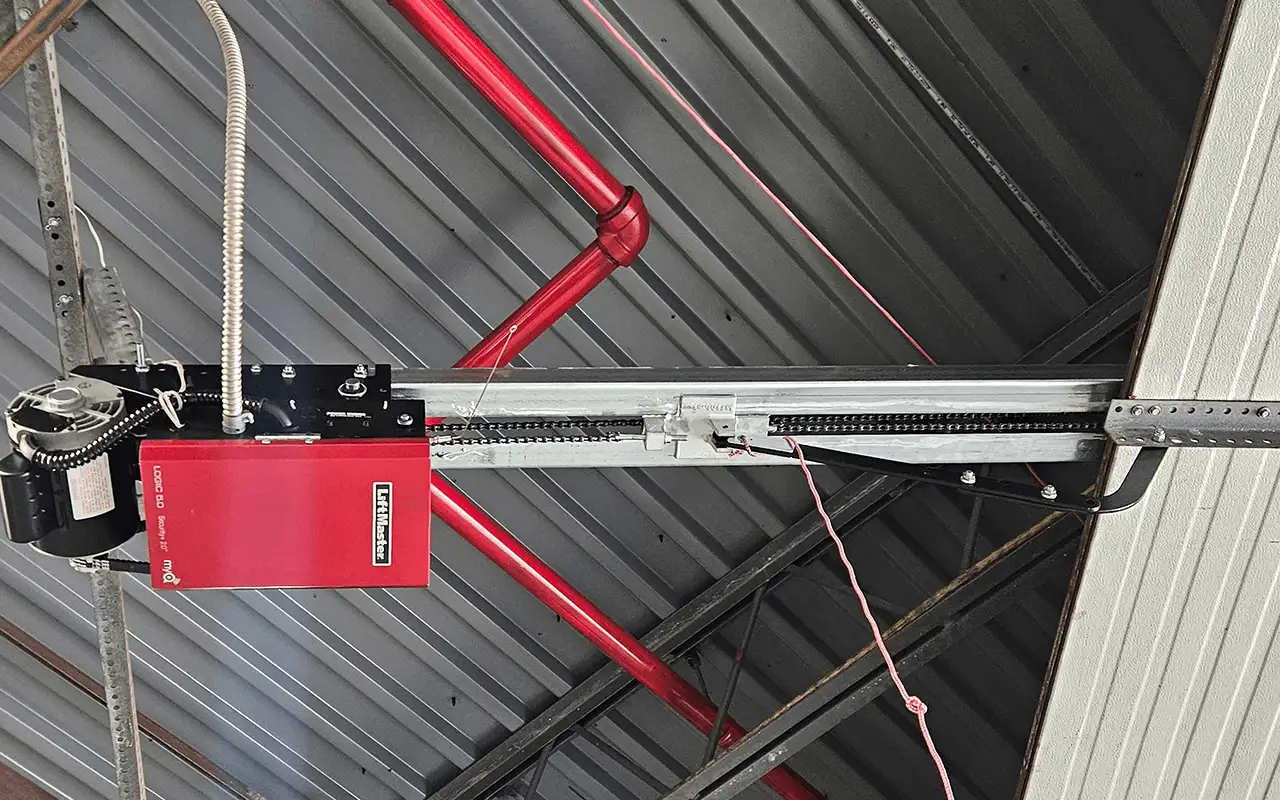
See what can be achieved when we install the new generation garage doors recently. We supplemented it with a sturdy Liftmaster T501L5 system and added a 16′ track, a new wall station, sensors, a light switch, remotes, and a keypad. Moreover, we replaced outdated openers with commercial-grade Liftmaster T501l5 after having them for more than 30 years. See the seamless integration of cutting-edge technologies and increased functions, resulting in reliability, performance, and security for generations to come.
I want to share the problems I have encountered with you. I will describe a guide to walk you through the process of installing the LiftMaster T501L5 commercial door opener in Chicago, highlighting the following steps and recommendations:
Assembly and Installation
Before we began the installation, we had extensive installation experience and gathered equipment and tools. Acting as the master installer, I checked all the parts and got to work:
- – Unfolded and listed each part to make sure everything was in place.
- Installed the dolly rail system, spacing the shims evenly along its length.
- Attached is the front bracket for the idler wheel to the tail end of the rail.
- Raised the bogie onto the rails.
Pro Tips:
- Check the dimensions and dimensions of the gate before assembly.
- When assembling, make sure the rail is straight and level.
Assembling the opener
Now that the main part is ready, we have installed the opener:
1. Position the header bracket in the middle of the door opening.
2. Mount the bracket in a secure location on the wall above the door.
3. Attach the finished rail to the headliner bracket using the fasteners provided.
4. Lift the header and secure it to the ceiling joists.
Attaching the cart and door lever
This important step attaches the opener to the door:
1. Leaving the door closed, we attach the bent door arm to the cart.
2. Connect the straight door arm to the door bracket on the door.
3. Connect the straight and bent brackets together, correcting for geometry.
Pro tips:
- For best results, fit the arms precisely.
- Lubricate the joint surfaces to eliminate friction.
Connections and adjustments
Electrical connections and adjustments are the final step:
1. Connect power and control wiring to the opener in accordance with local codes.
2. Connect the 3-button control station on the door.
3. Install safety strips at the bottom of the door leaf.
4. Initial adjustment of limit switches and force has been completed.
Analysis:
- Carefully check wire connections before energizing.
- Apply incremental small changes when setting the limits.
- Customize the opening and closing limit
- Check the Mas button for errors; if everything is wired correctly, this button will not give an error.
With all of these steps and tips, we were able to install the LiftMaster T501L5 commercial door opener in Chicago. All the preparation and care was taken to make sure the installation went smoothly and without problems. If you have any problems please contact us, we can help.
- Service Done: New wall station
- Service Done: New sensors
- Service Done: New light switch
- Service Done: New remotes
- Service Done: New keypad
- Product Used: Commercial Opener Liftmaster T501l5
- Location: Chicago, Illinois
Alex
Chief Technician and Director of Firstline Garage Door Repair